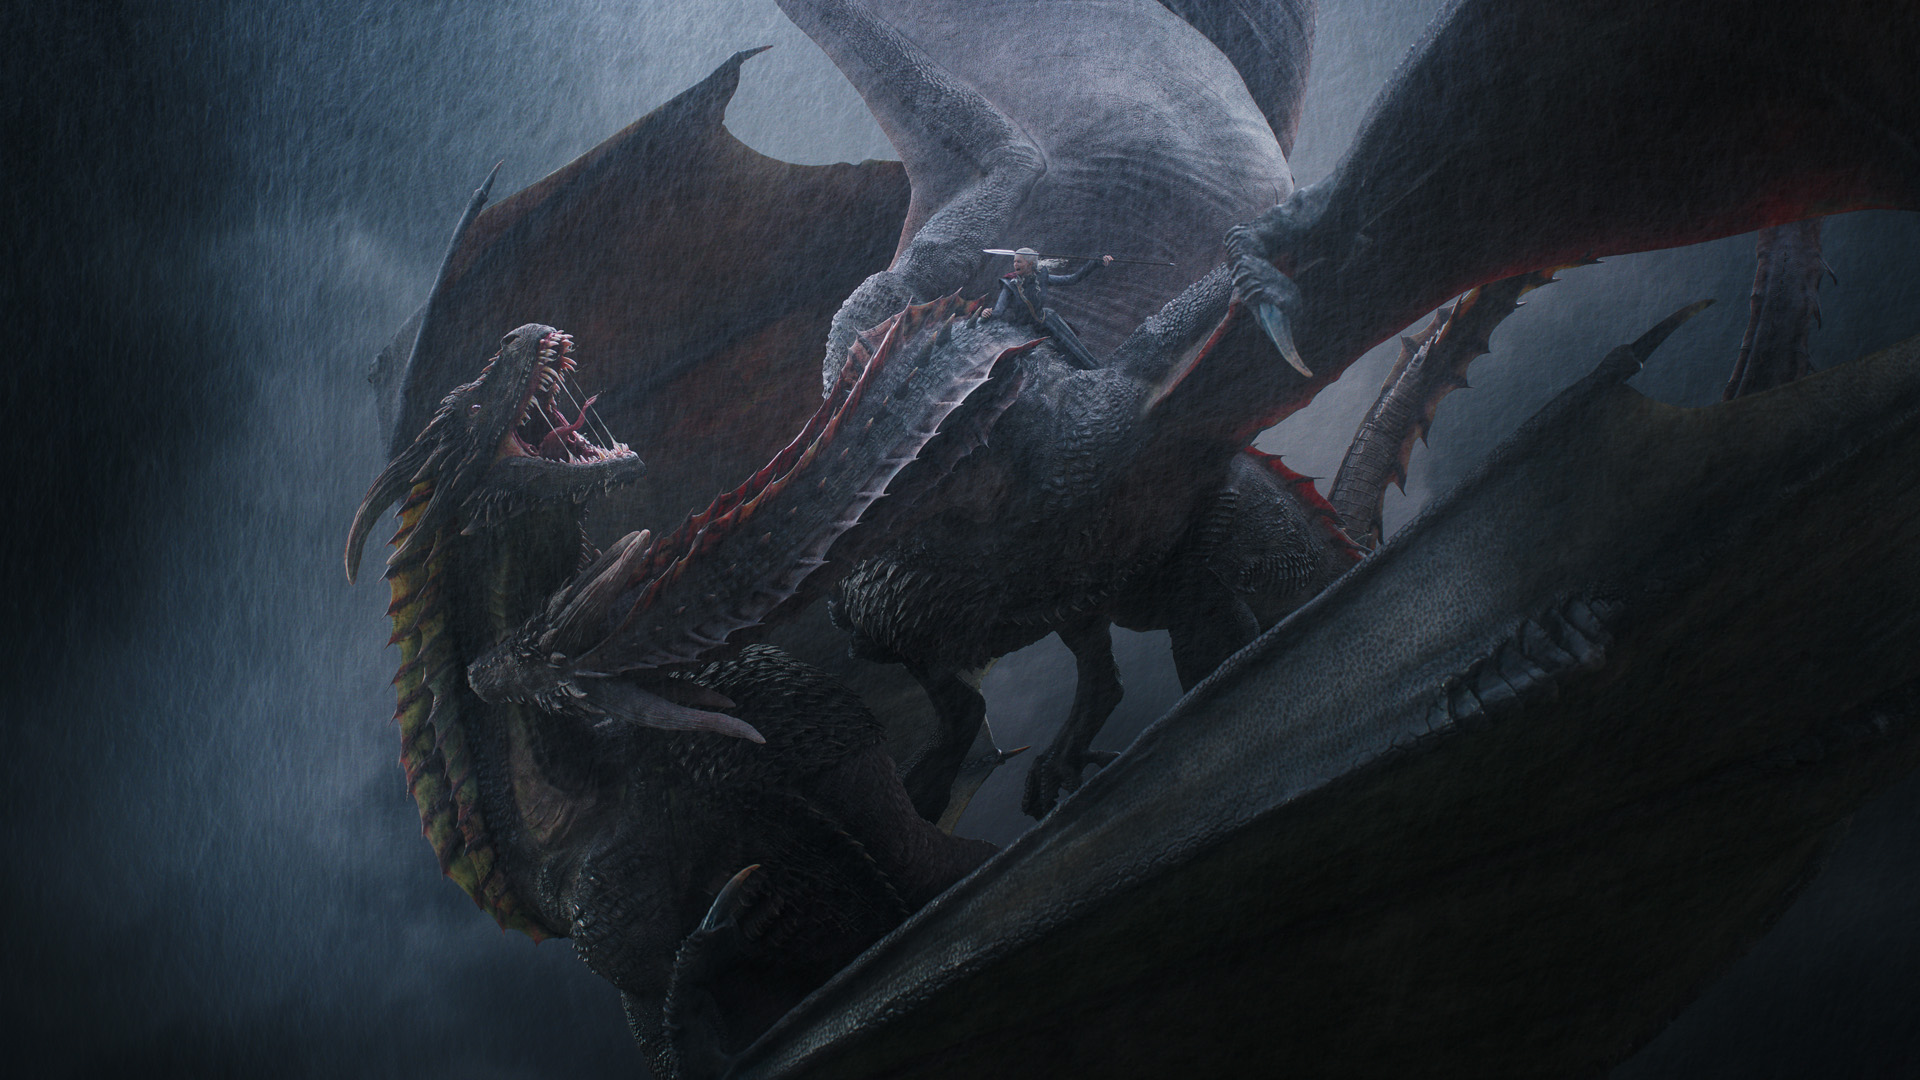
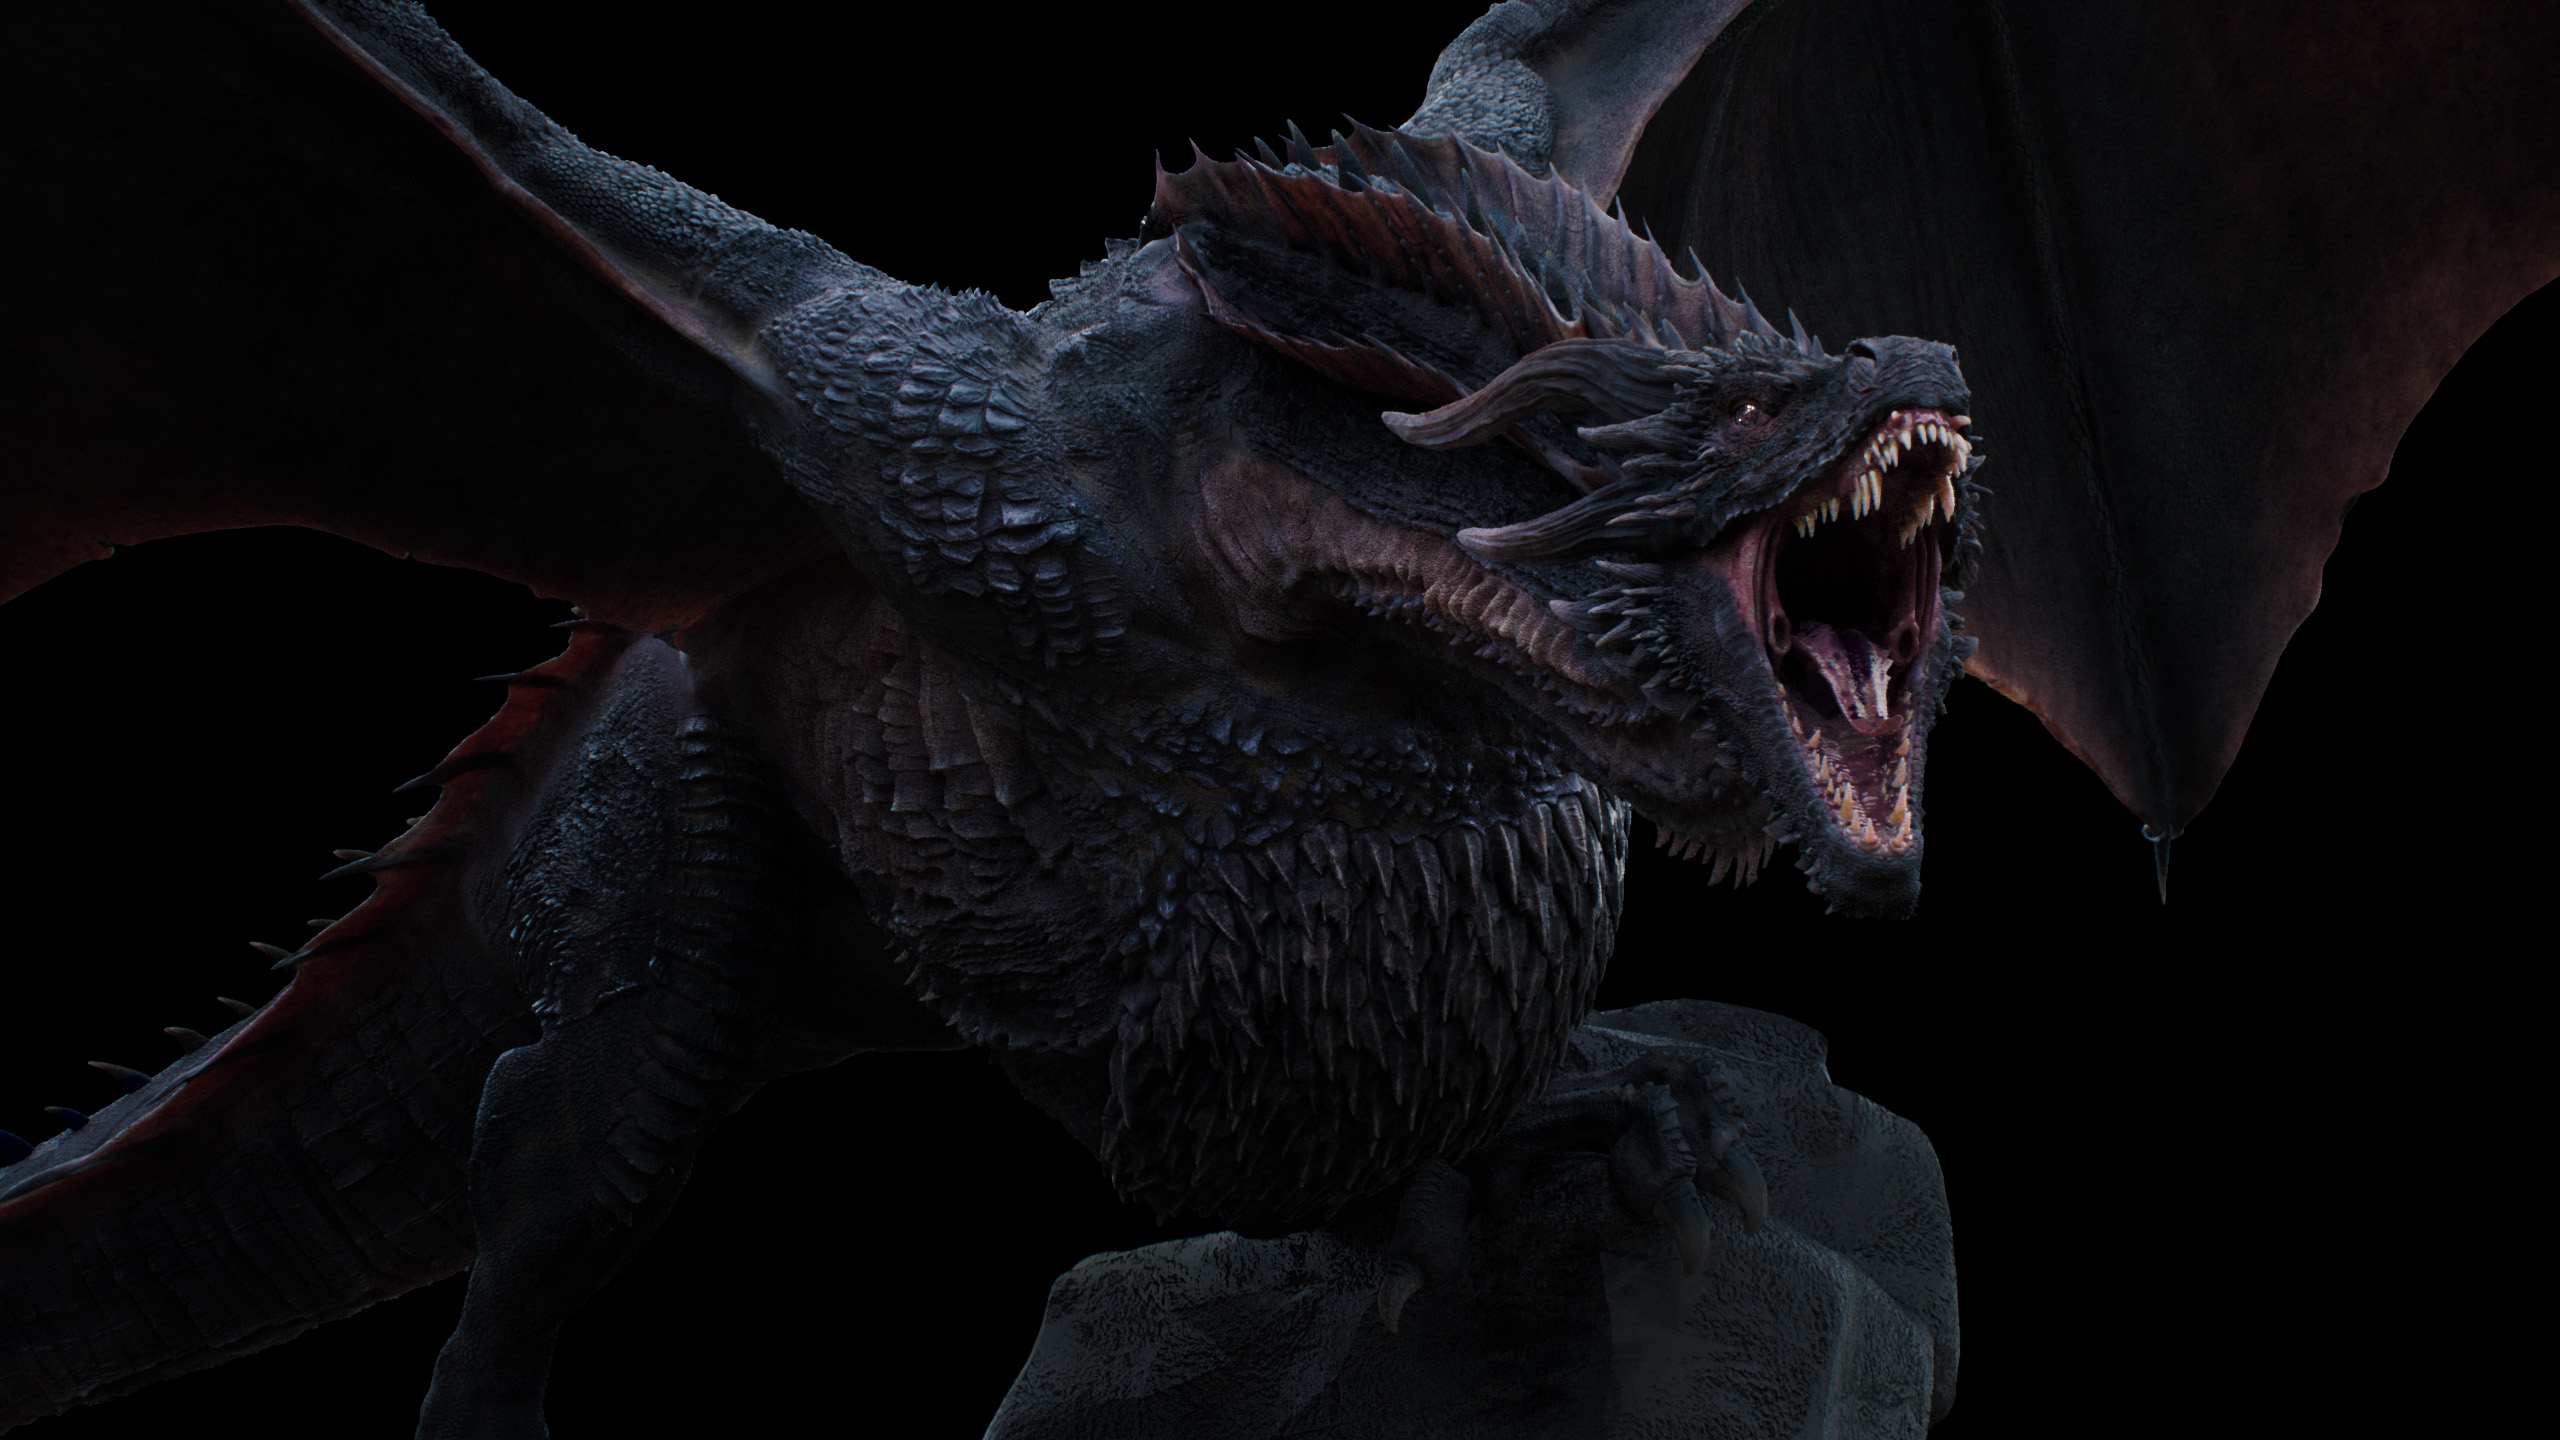
Drogon Creature Research
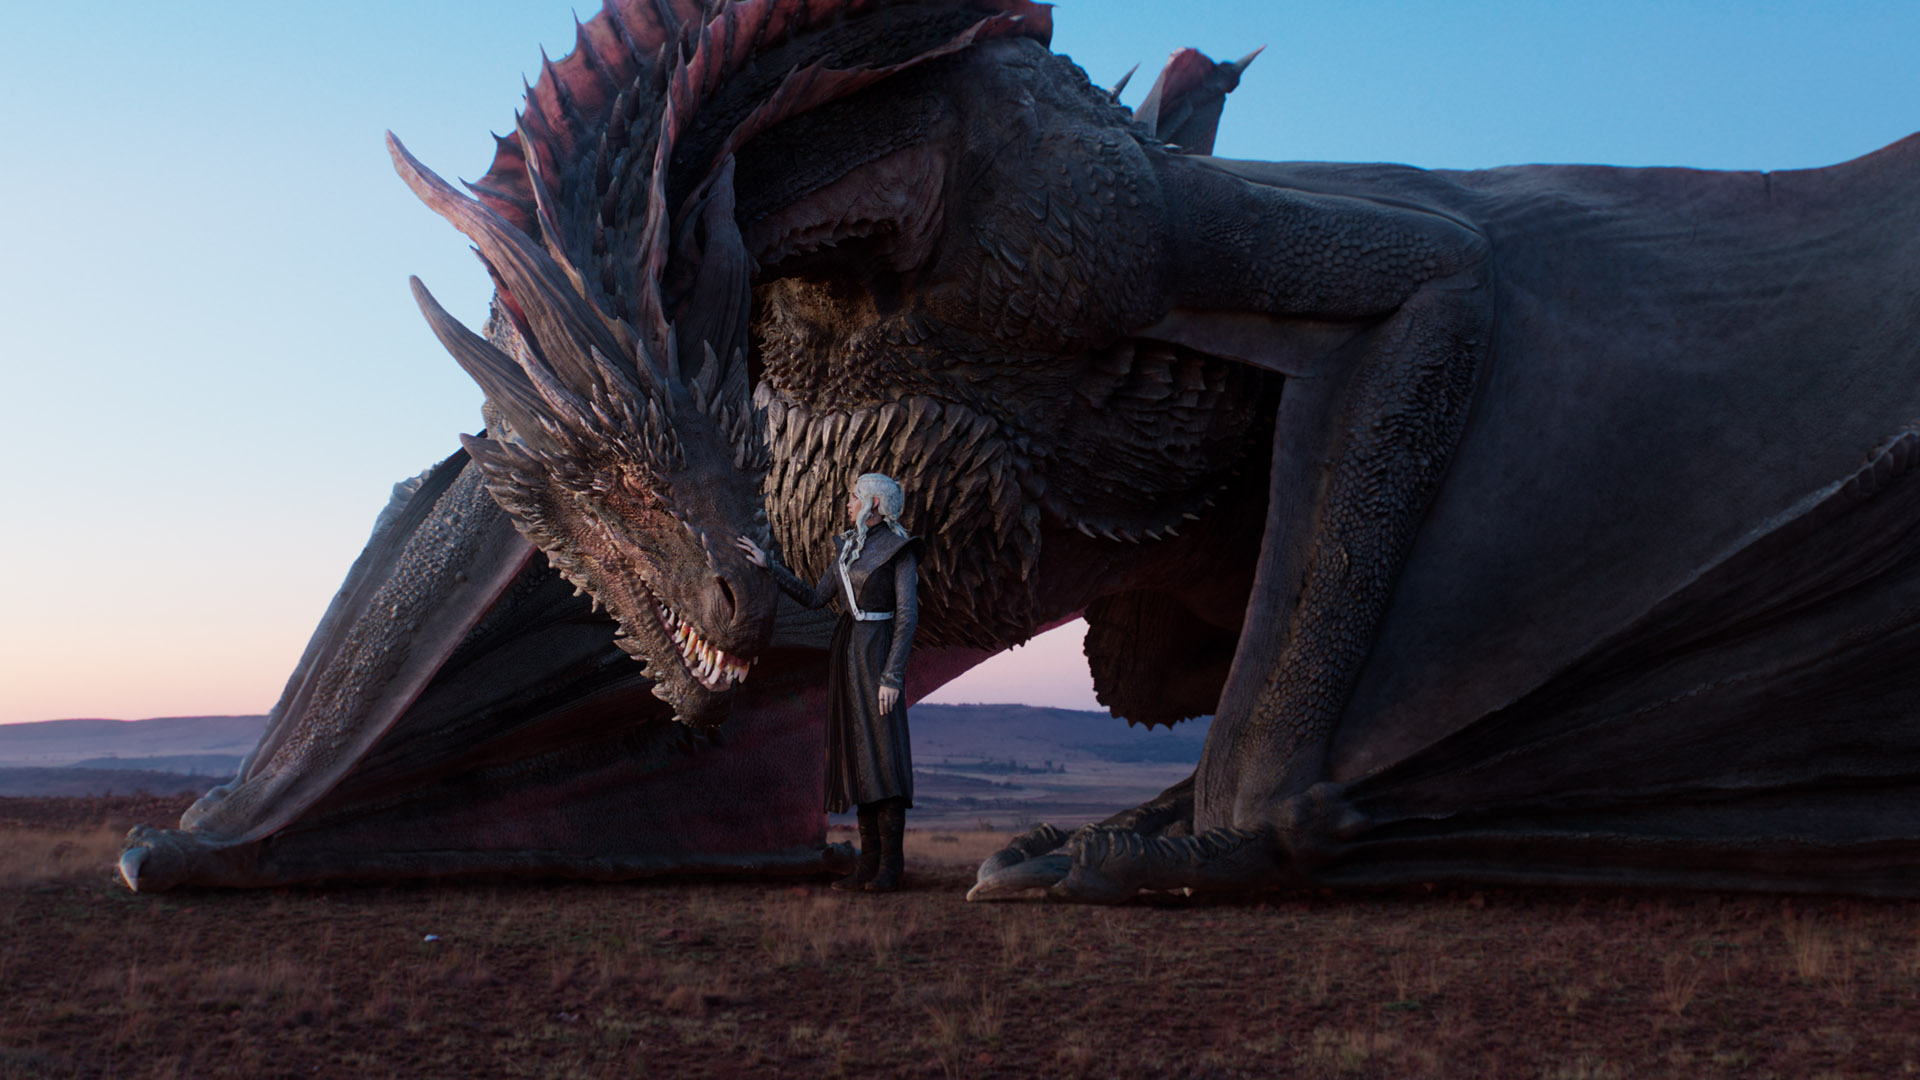
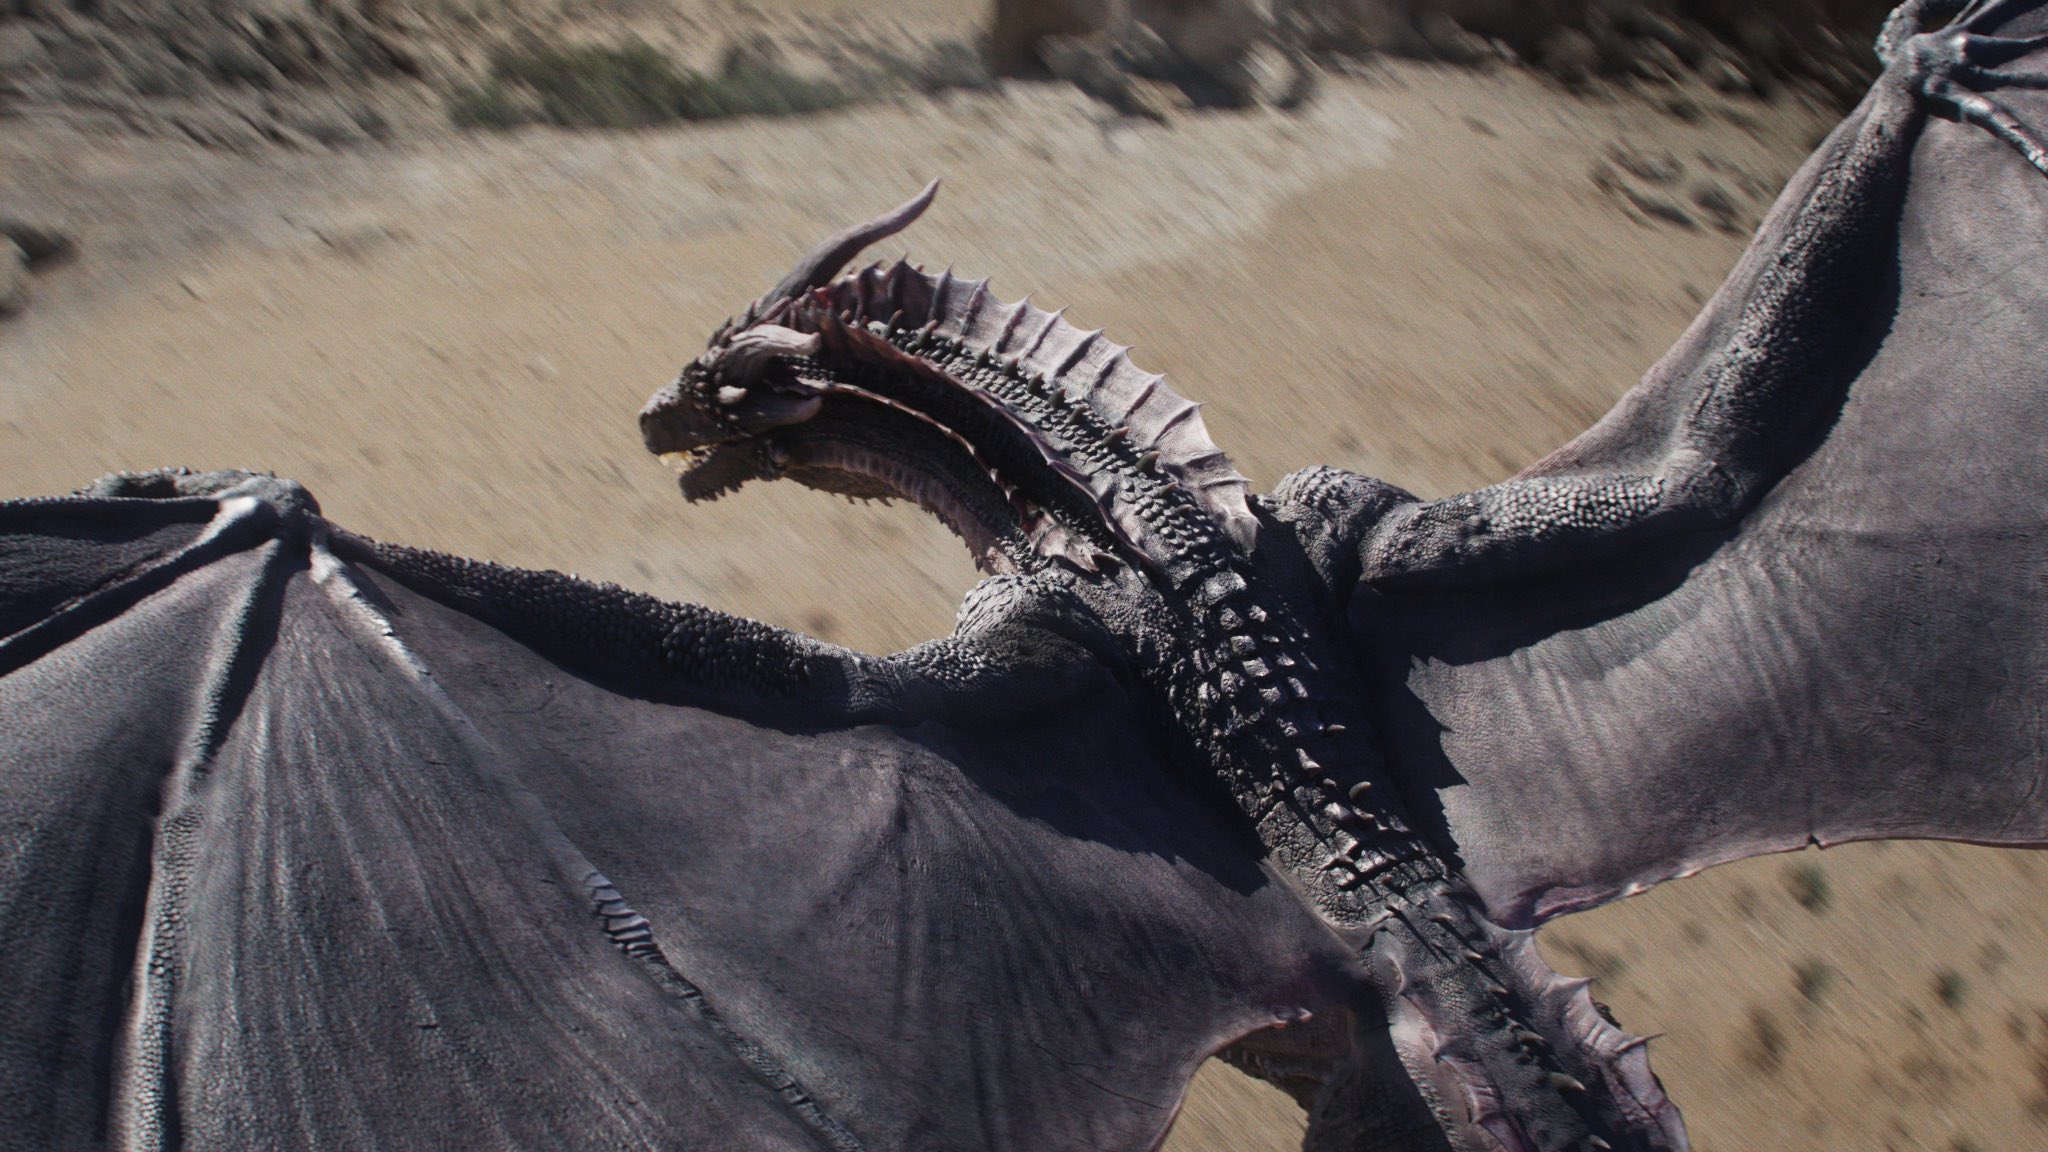
We g.o.t. inspired by the dragons of Game of Thrones and decided to challenge ourselves by researching and rebuilding Drogon from scratch.
We are

Till Sander-Titgemeyer
Modeling / Texturing / Animation
Justus Schmidt
Rigging / Muscle Simulation

Mario Bertsch
Shading / Lighting / Compositing
Skeleton Structure
research project and then added some custom bones unique to our Version of Drogon on top. This was a very important step in order to find the right proportions.
Anatomy System
Till: “After we finished creating the skeleton, we had to research the musculoskeletal system of Drogon. For this we used some of my t-rex muscles and additionally a few from a human base model. We learned that it is essential to create a logical muscle system!”
Details &
HD Geometry
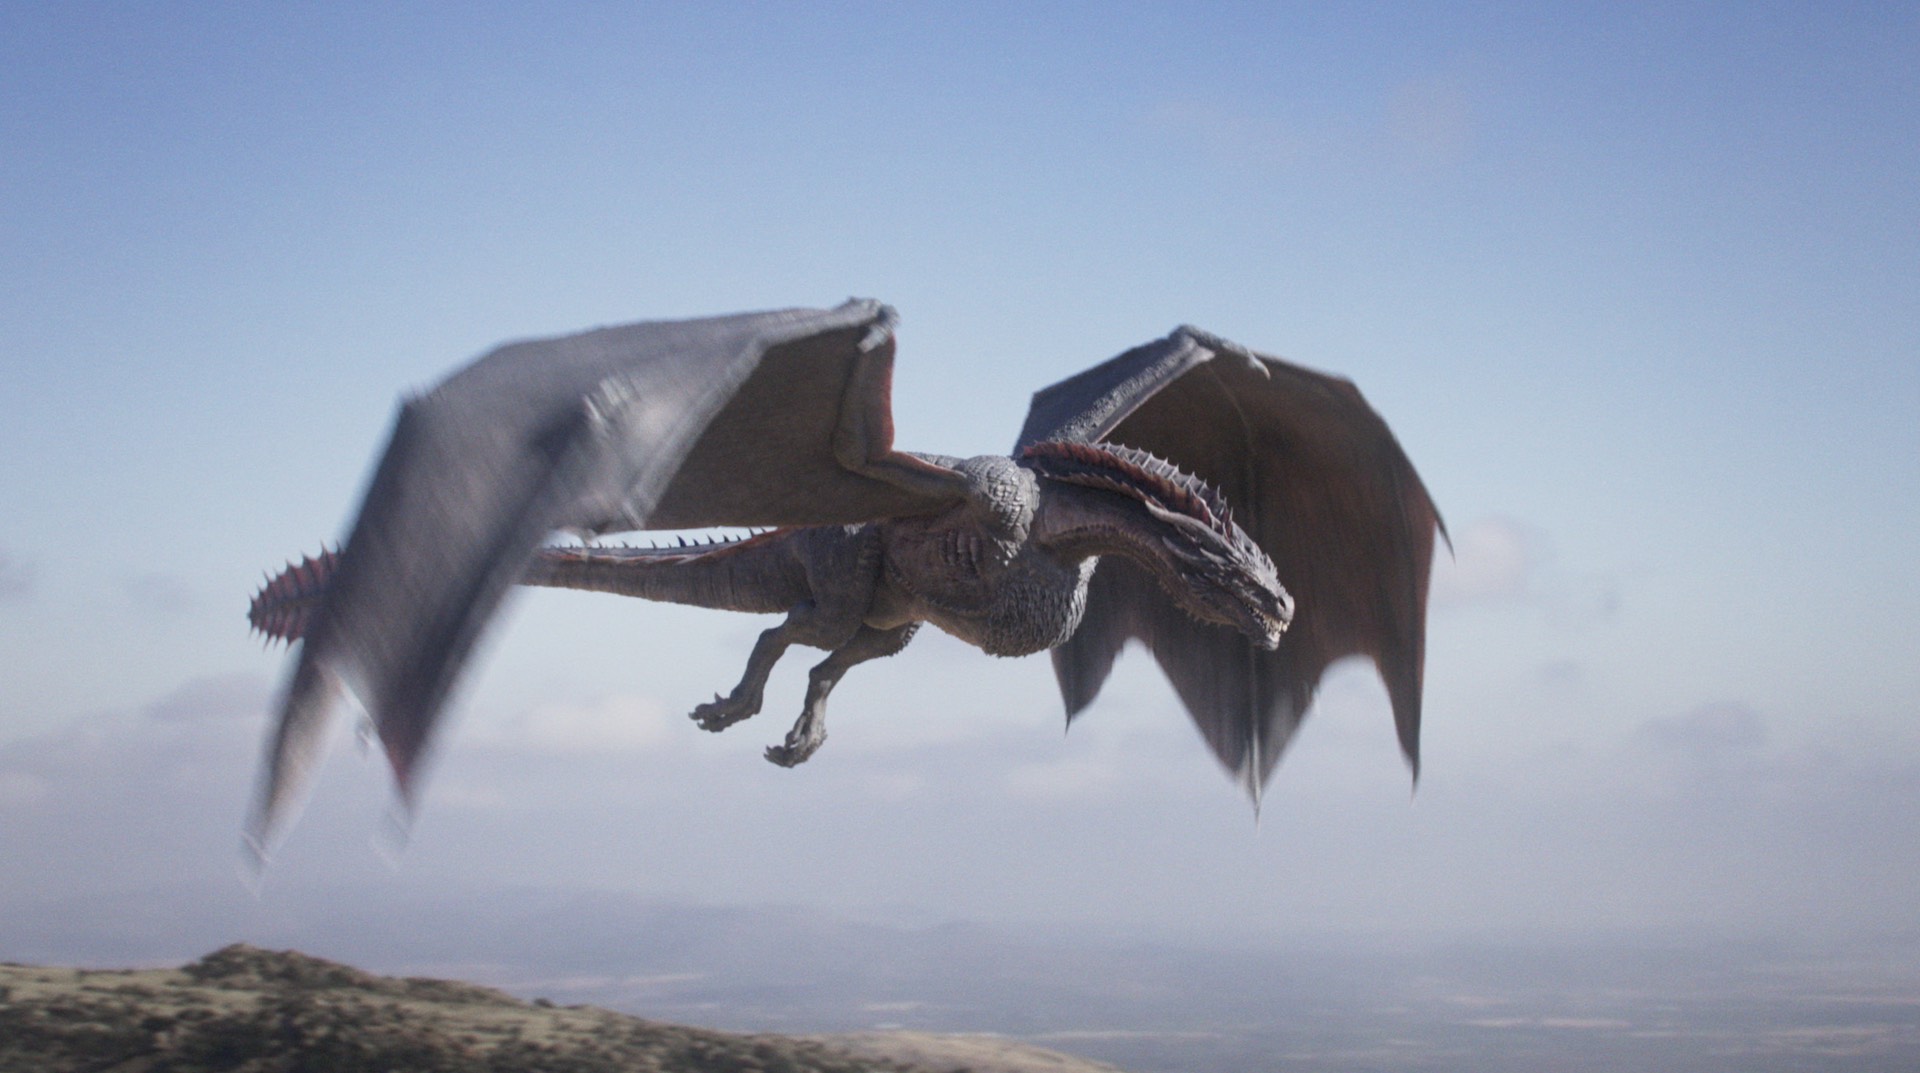
Basemesh, UV’s & Retopology
Rigging & Skinweight
Justus: “We decided to rig the whole model in Houdini 18.0, since it would me more coherent with the muscle simulation. Setting up the Rig was very comfortable and fairly easy – due to Houdini’s visual nodes and excellent non-destructive workflow. However, during the skin weighting process we encountered the limitations of Houdini Rigging. Because of the sheer amount of polygons, the model needed to be splitted into several parts to make skin painting even possible. For some parts, e.g. the wings, it became almost impossible, since Houdini’s painting tool just could not deal with the overlapping geometry. A remedy was the automatic skin weighting in Houdini, which – with a few tweeks – provided fantastic results.
As the rig grew larger and larger, the model and rig needed to be splitted further into several nested hda files, since only using only one file was too slow to handle. Houdini’s built in Blendshape node is fine for basic features – but for more advanced usage, even masking, another solution needed to be found. So we used an attribute masking and smoothing for blending the objects into each other. This, on the one hand, provided much more control, but on the other hand led to less performance and therefore also impacted the overall animation process.”
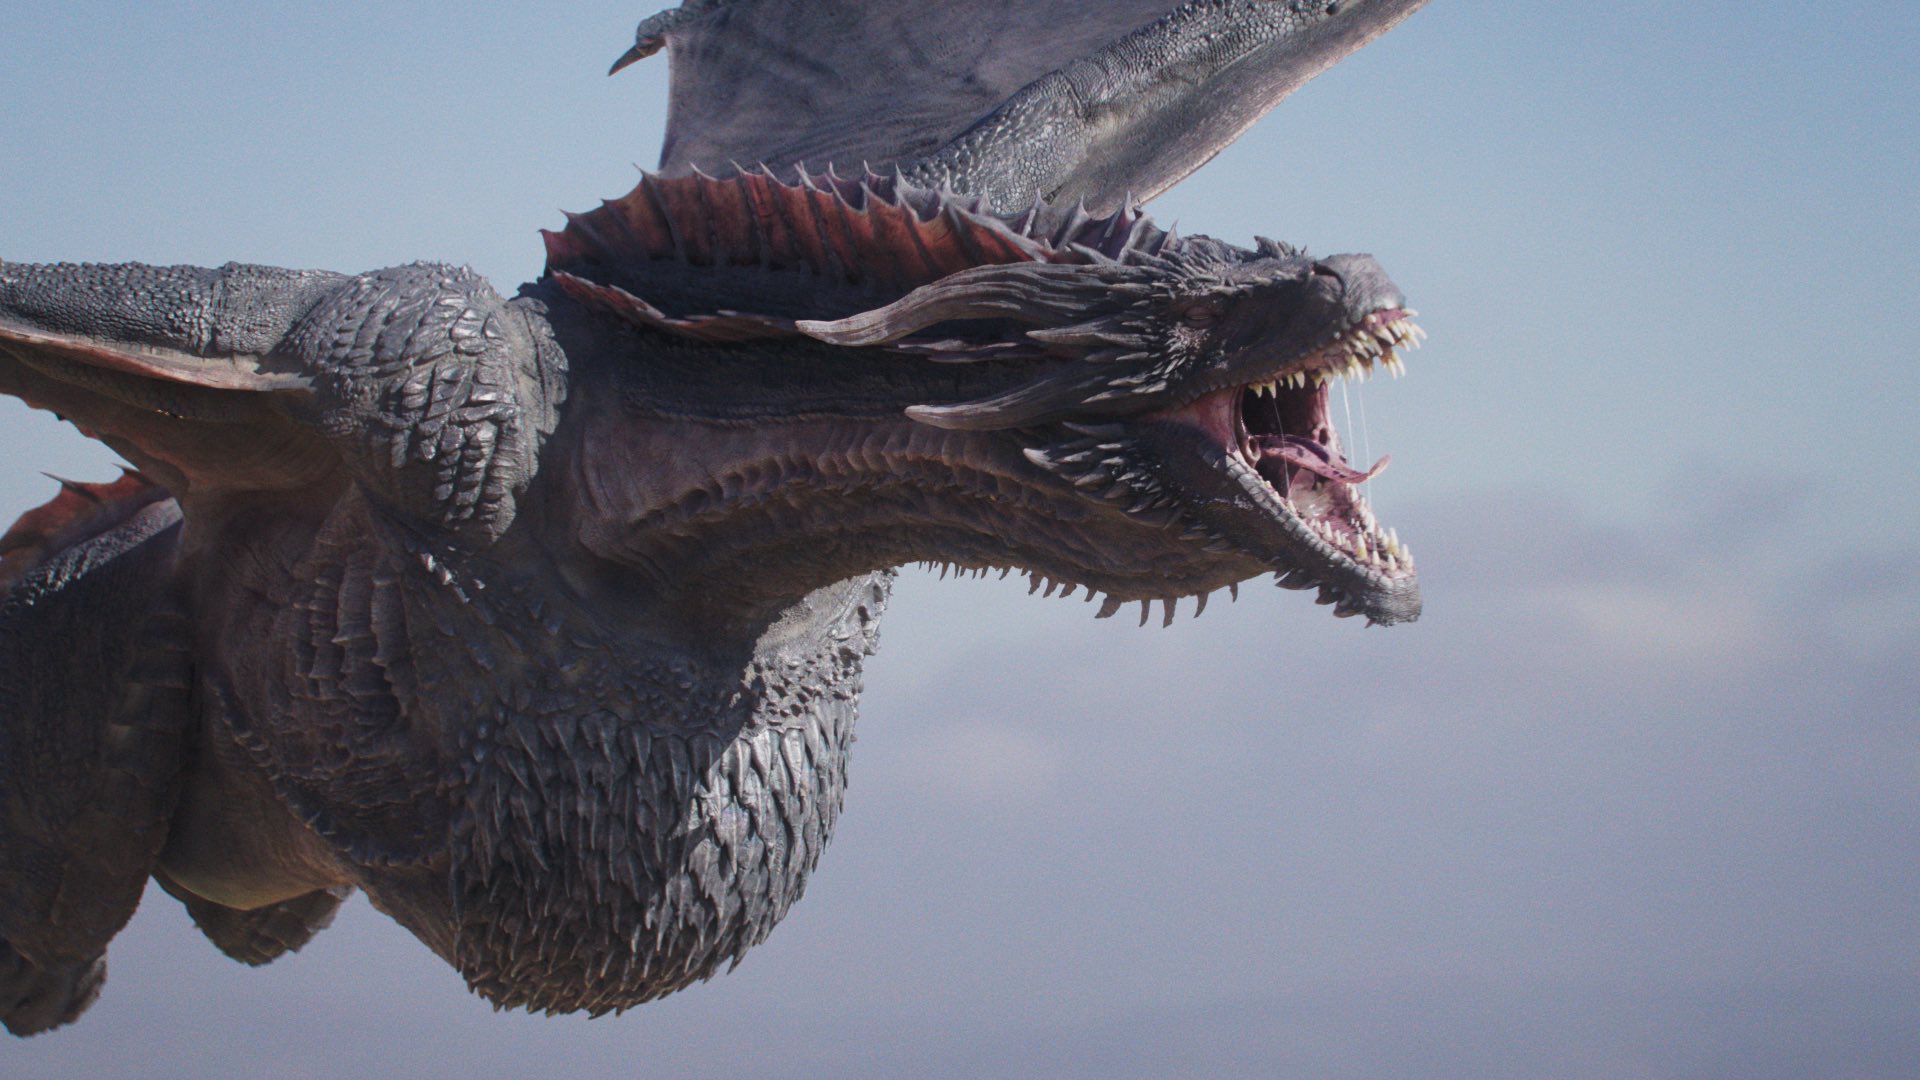
Texturing & Shading
Mario: “For our color management workflow, we used an ACES Color Workflow. In order to achieve a realistic surface look, we had to break up different colormaps like albedo, roughness, glossy and SSS. The roughness map was most significant for creating the intended materiality. We also used an iridescence shader to achieve more variation on top of reflective surfaces.”
Ambient Occlusion
Color Masks
Subsurface Scattering
Iridescence Shader
Direct & Indirect Specular
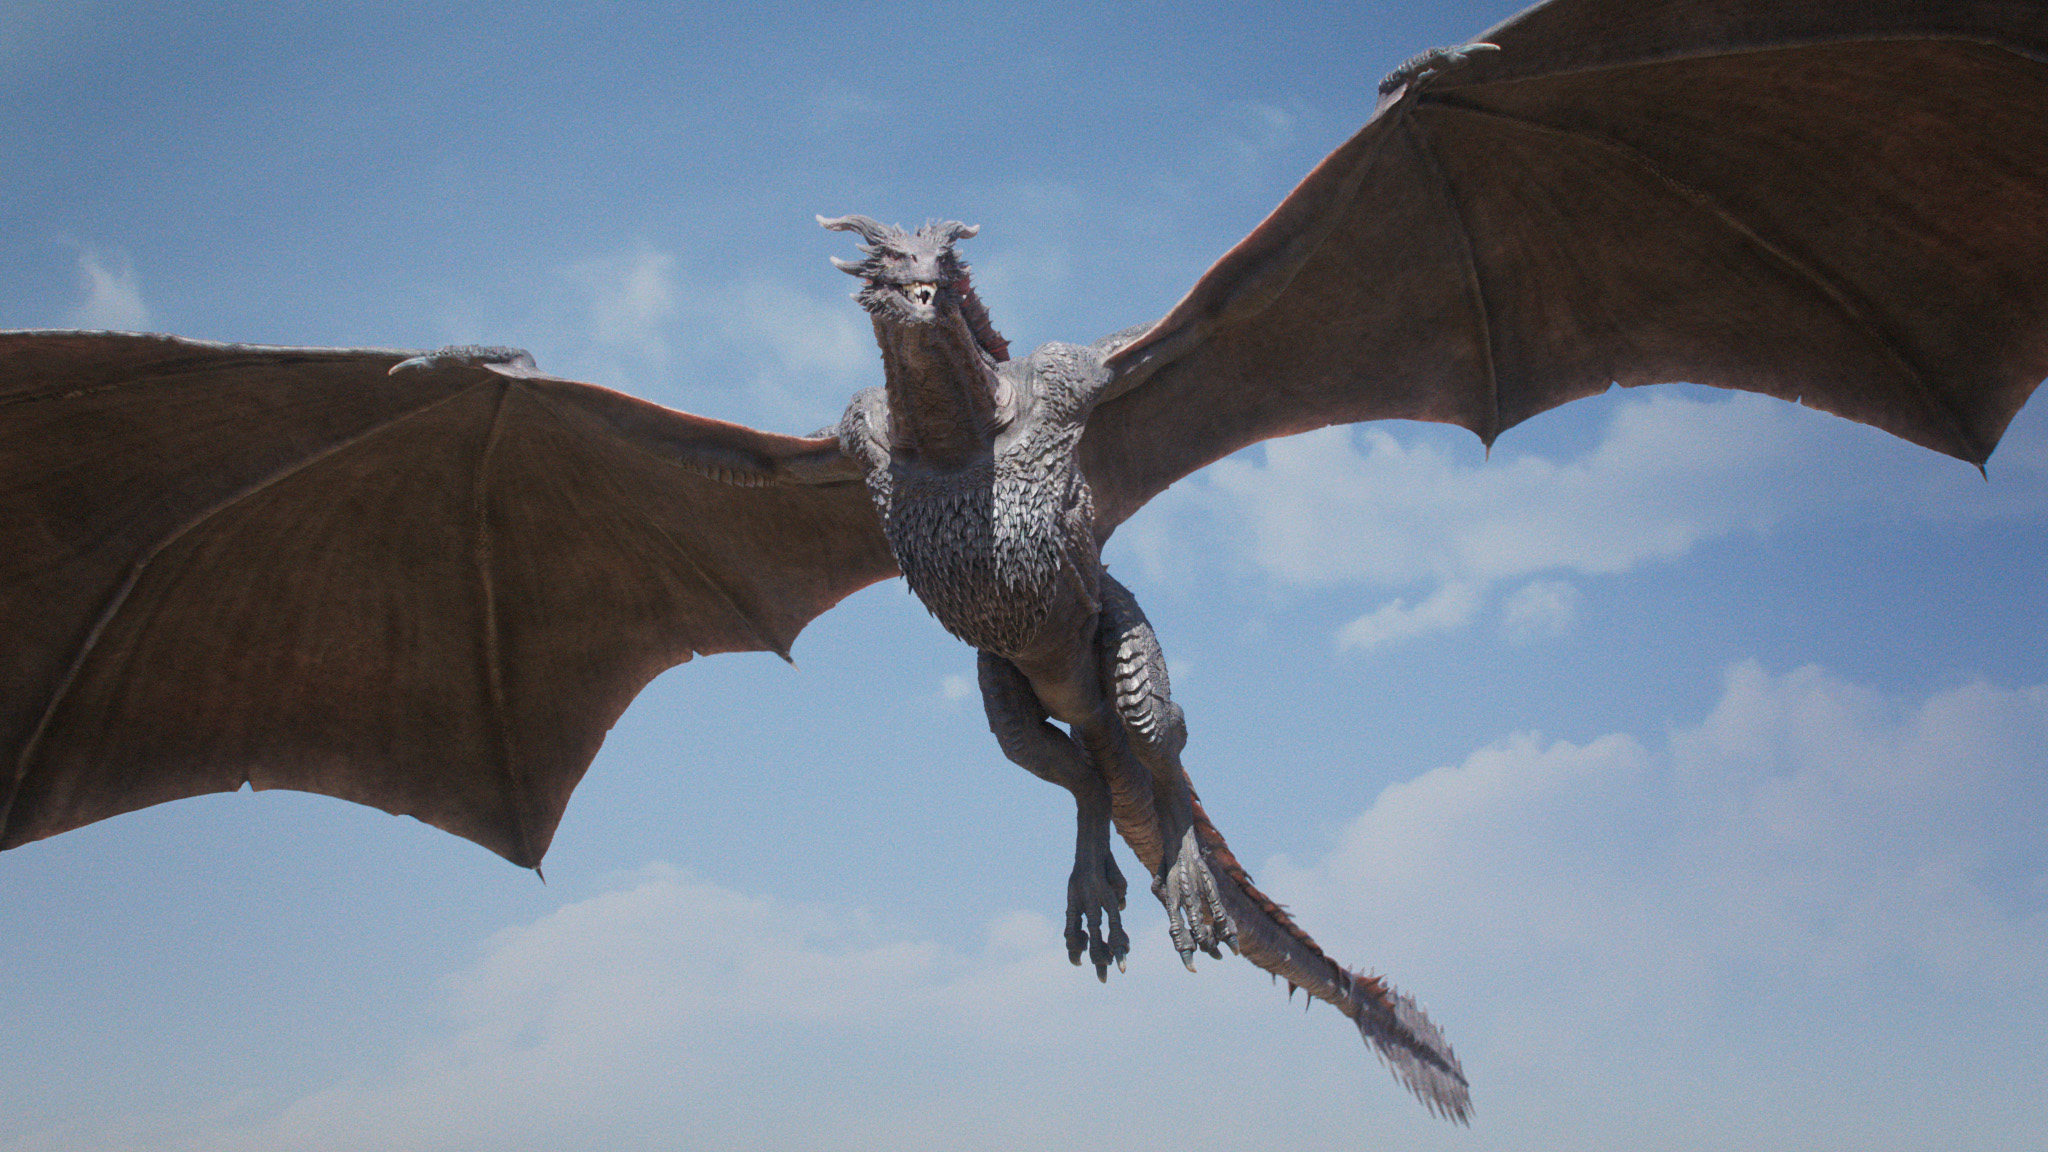
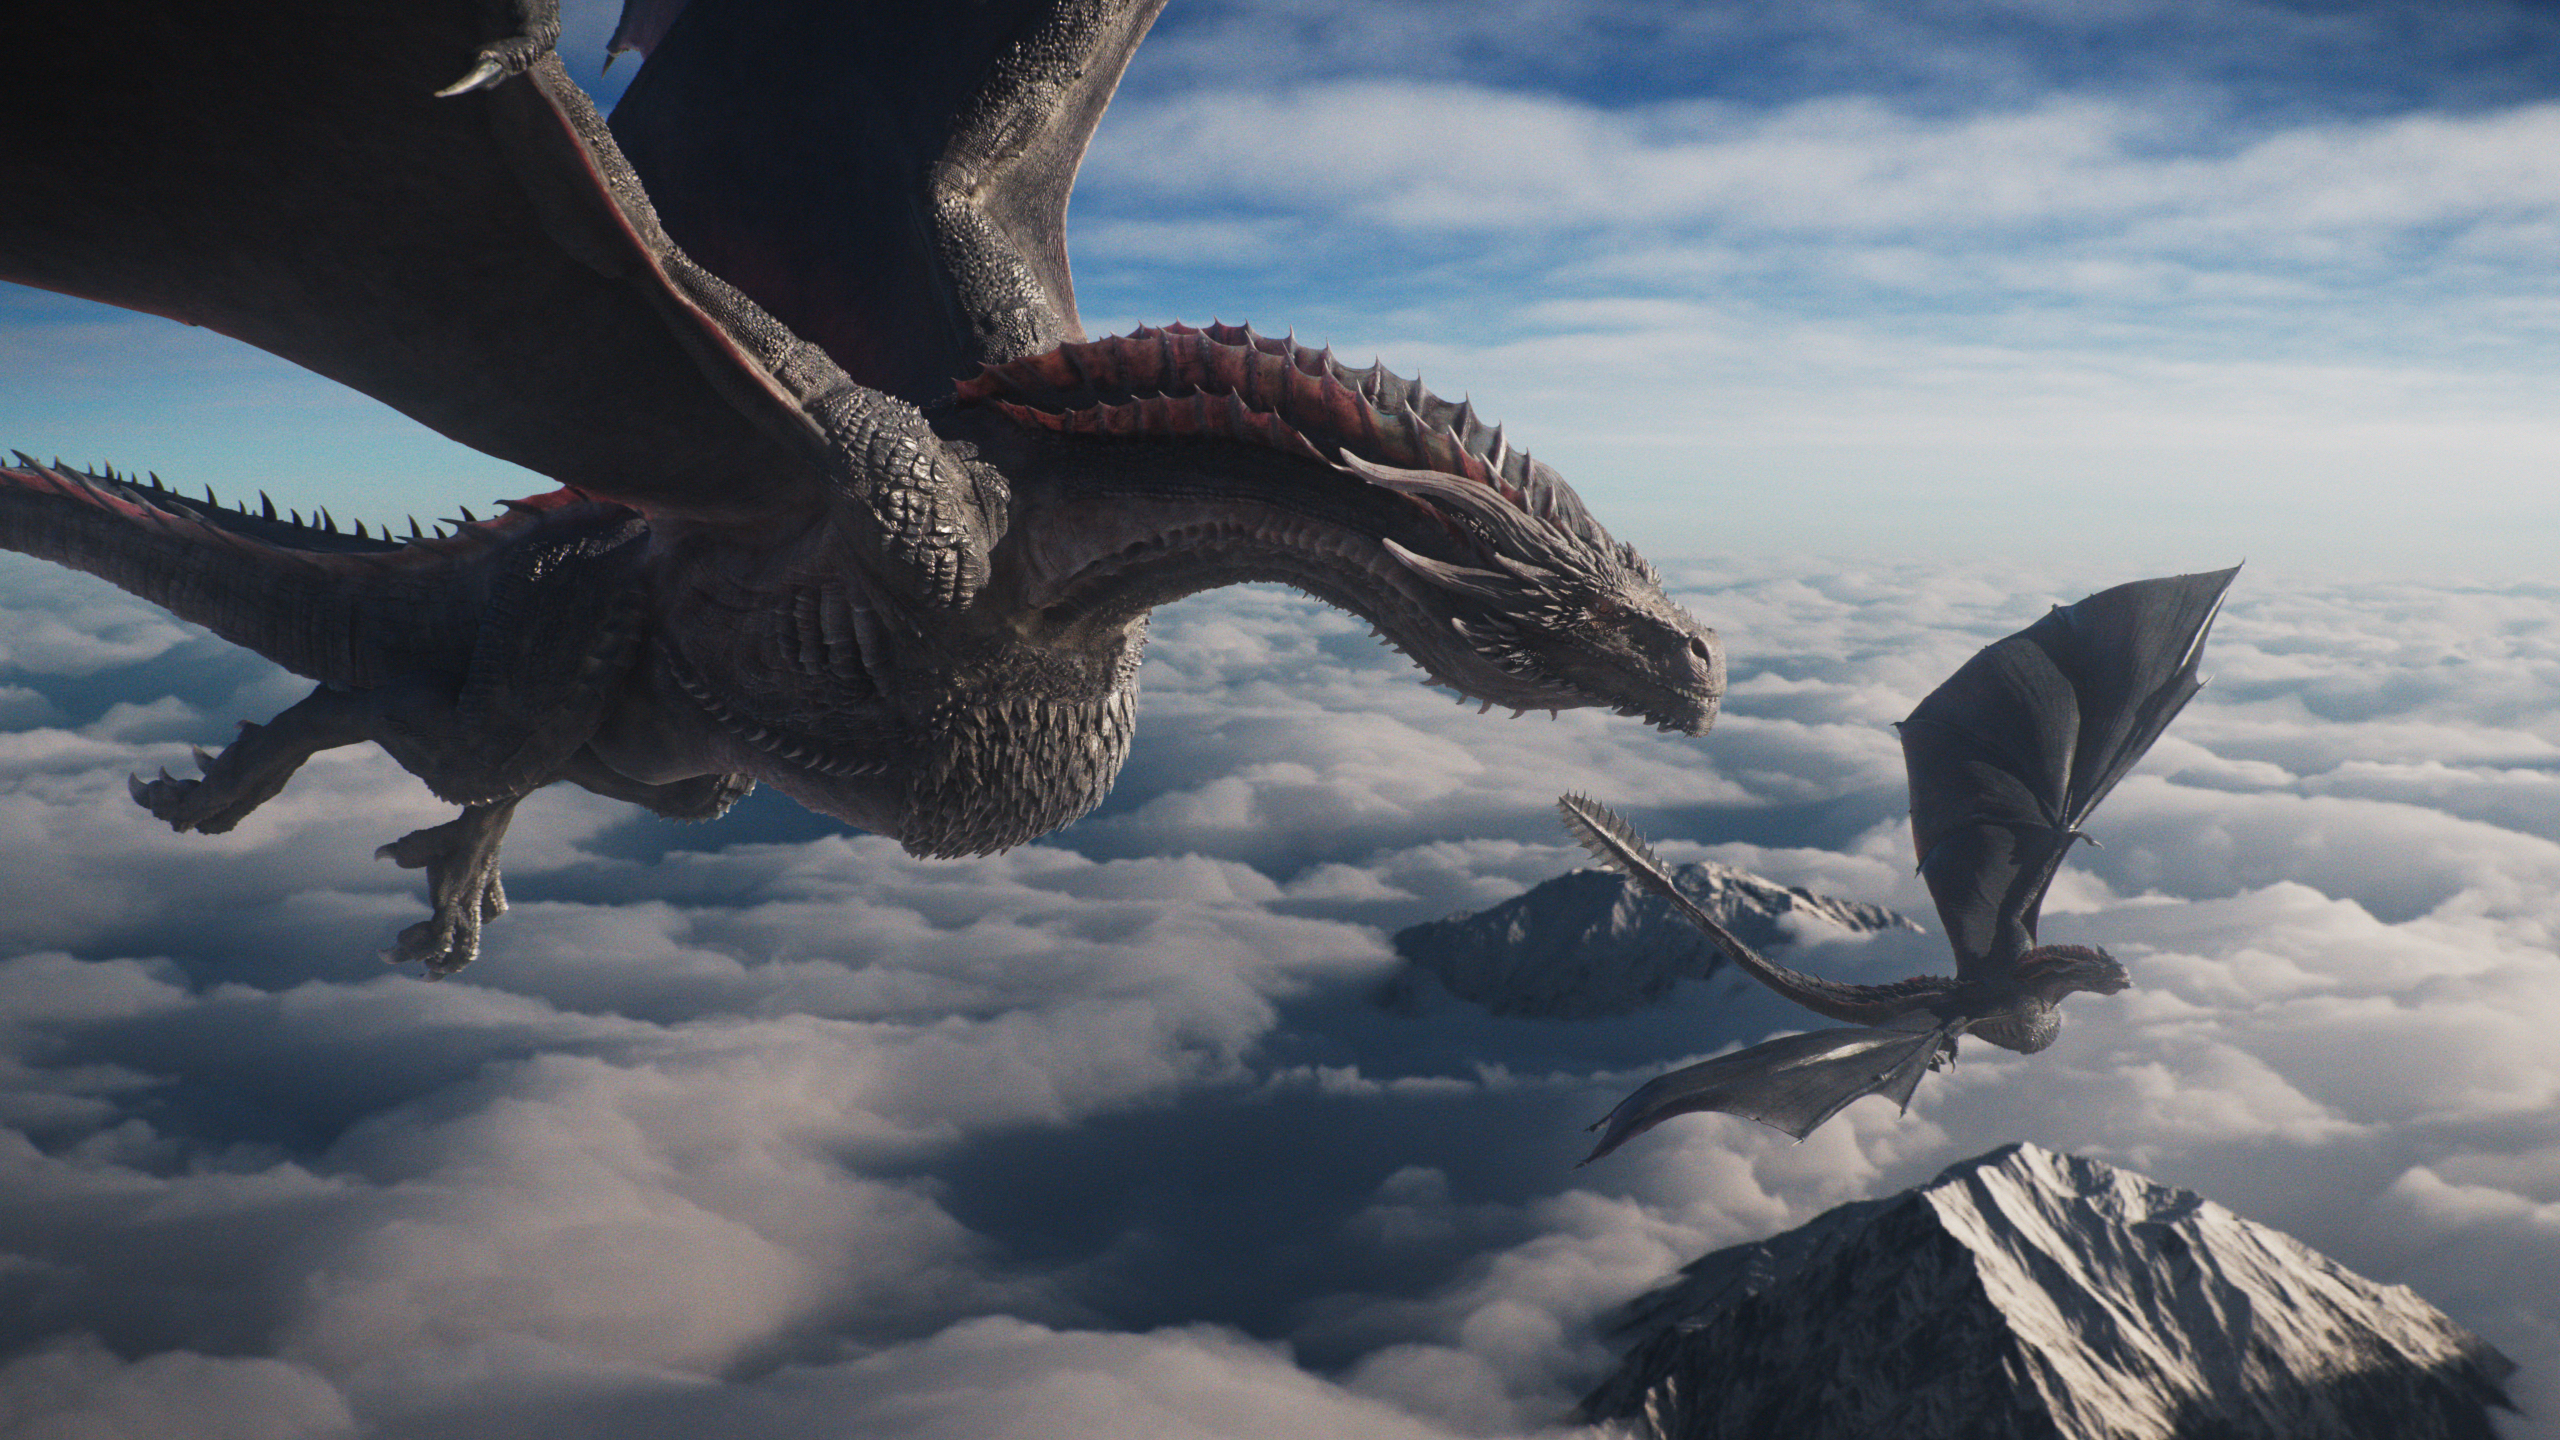
Rendering &
Compositing
Mario:” For rendering, we used Houdini’s renderer “Mantra”. To maintain a high level of control while compositing, we rendered additional AOV passes and different masks. We combined all render passes and did small color adjustments like matching black levels to the environment. For an even better integration, we build a 2d particular cloud atmosphere, which drew fore- and background even closer together.
Drogon Creature
Research
Directors
Till Sander-Titgemeyer
Mario Bertsch
VFX Producer
Anna Matacz
Modeling, Texturing & Animation
Till Sander-Titgemeyer
TD, Rigging & Muscle Simulation
Justus Schmidt
Shading, Lighting & Compositing
Mario Bertsch
Music Composing & Mixing
Patrick Kuhn Botelho
Orchestra
Štátny komorný orchester Žilina
Recording Engineer
Vladimir Martinka
Sounddesign
Marco Dahl
Mastering
Nicolas Kaiser
Mentoring
Sven Martin, Johannes Wolz,
Dietrich Magnus, Tom Herzig,
Max Riess, Mark Spindler &
PIXOMONDO
Senior Lecturer
Prof. Volker Helzle, Prof. Lilian Klages,
Anna Brinkschulte, Prof. Juri Stanossek,
Alexandra Stautmeister, Prof. Matthias Raue
Technology
Joachim Genannt, Viet Nguyen,
John Holth, Michael Schott,
Thomas Del Popolo, Stefan
Binggeser, Stephan Riewe
Curriculum
Anna Matacz, Constanze Bühner,
Claudia Liepert, Isabel Gimber,
Alexandra Stautmeister, Andreas Ulmer,
Marc Lutz, Stefan Michel, Yannick Paul
Petzold, Christian Müller, Simon Spielmann,
Jonas Trottnow, Felix Bucella, Anke Kletsch
Management
Heike Mozèr, Selina Schmutz,
Regina Kizler, Tatjana Jezic,
Ann-Kathrin Eglsoer,
Anja Fellerhoff
PR
Theresa Seitz, Franziska Ullrich,
Nora Hieronymus
Special thanks
Lukas Löffler, Ihabo Azzamo,
York v. Sydow